|
Shiva+PR15
Subwoofer
2-January-2010
Time flies! It's been over 6
years since I last updated this page. The subwoofer is done... sort of, and
is now in use. Guess it's time to write it up!
The final configuration is
downward firing woofer with a front firing passive radiator. Ideally,
I'd use 2 PRs and fire them in opposite directions for balance but I did
what I could with what I had on hand. Adire Audio is no longer in business
and getting another PR15 and adding the same amount of additional mass was
just more work than I wanted. As it turned out, the results are more than
adequate. Power is from an Adcom GFA545 II amplifier. The LM-12 based amplifier
is collecting dust and may be salvaged for parts. I never could get rid of
the last bits of hum and unless I can think of a good use for it, I see
no reason to even try to debug it further.

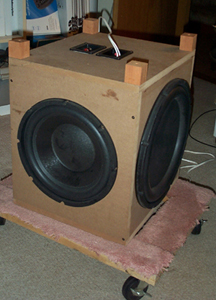
Final Design
The final design
called for an 89 liter (3.1 cubic feet) box containing the Shiva woofer
and PR15 passive radiator. The Shiva is a dual voice coil driver and both
coils are made available for hookup. The PR15 has the same 726 grams of
added mass (for a total of 1011 g). Using Adire Audio's LspCAD software,
the modeled response is F3=28Hz and F10=17Hz. I could have lowered F3
by removing some mass from the passive radiator but that would also raise F10. It's a tradeoff of F3 vs. F10 and how much more work I want to do. I opted to leave the PR mass as-is.
Construction
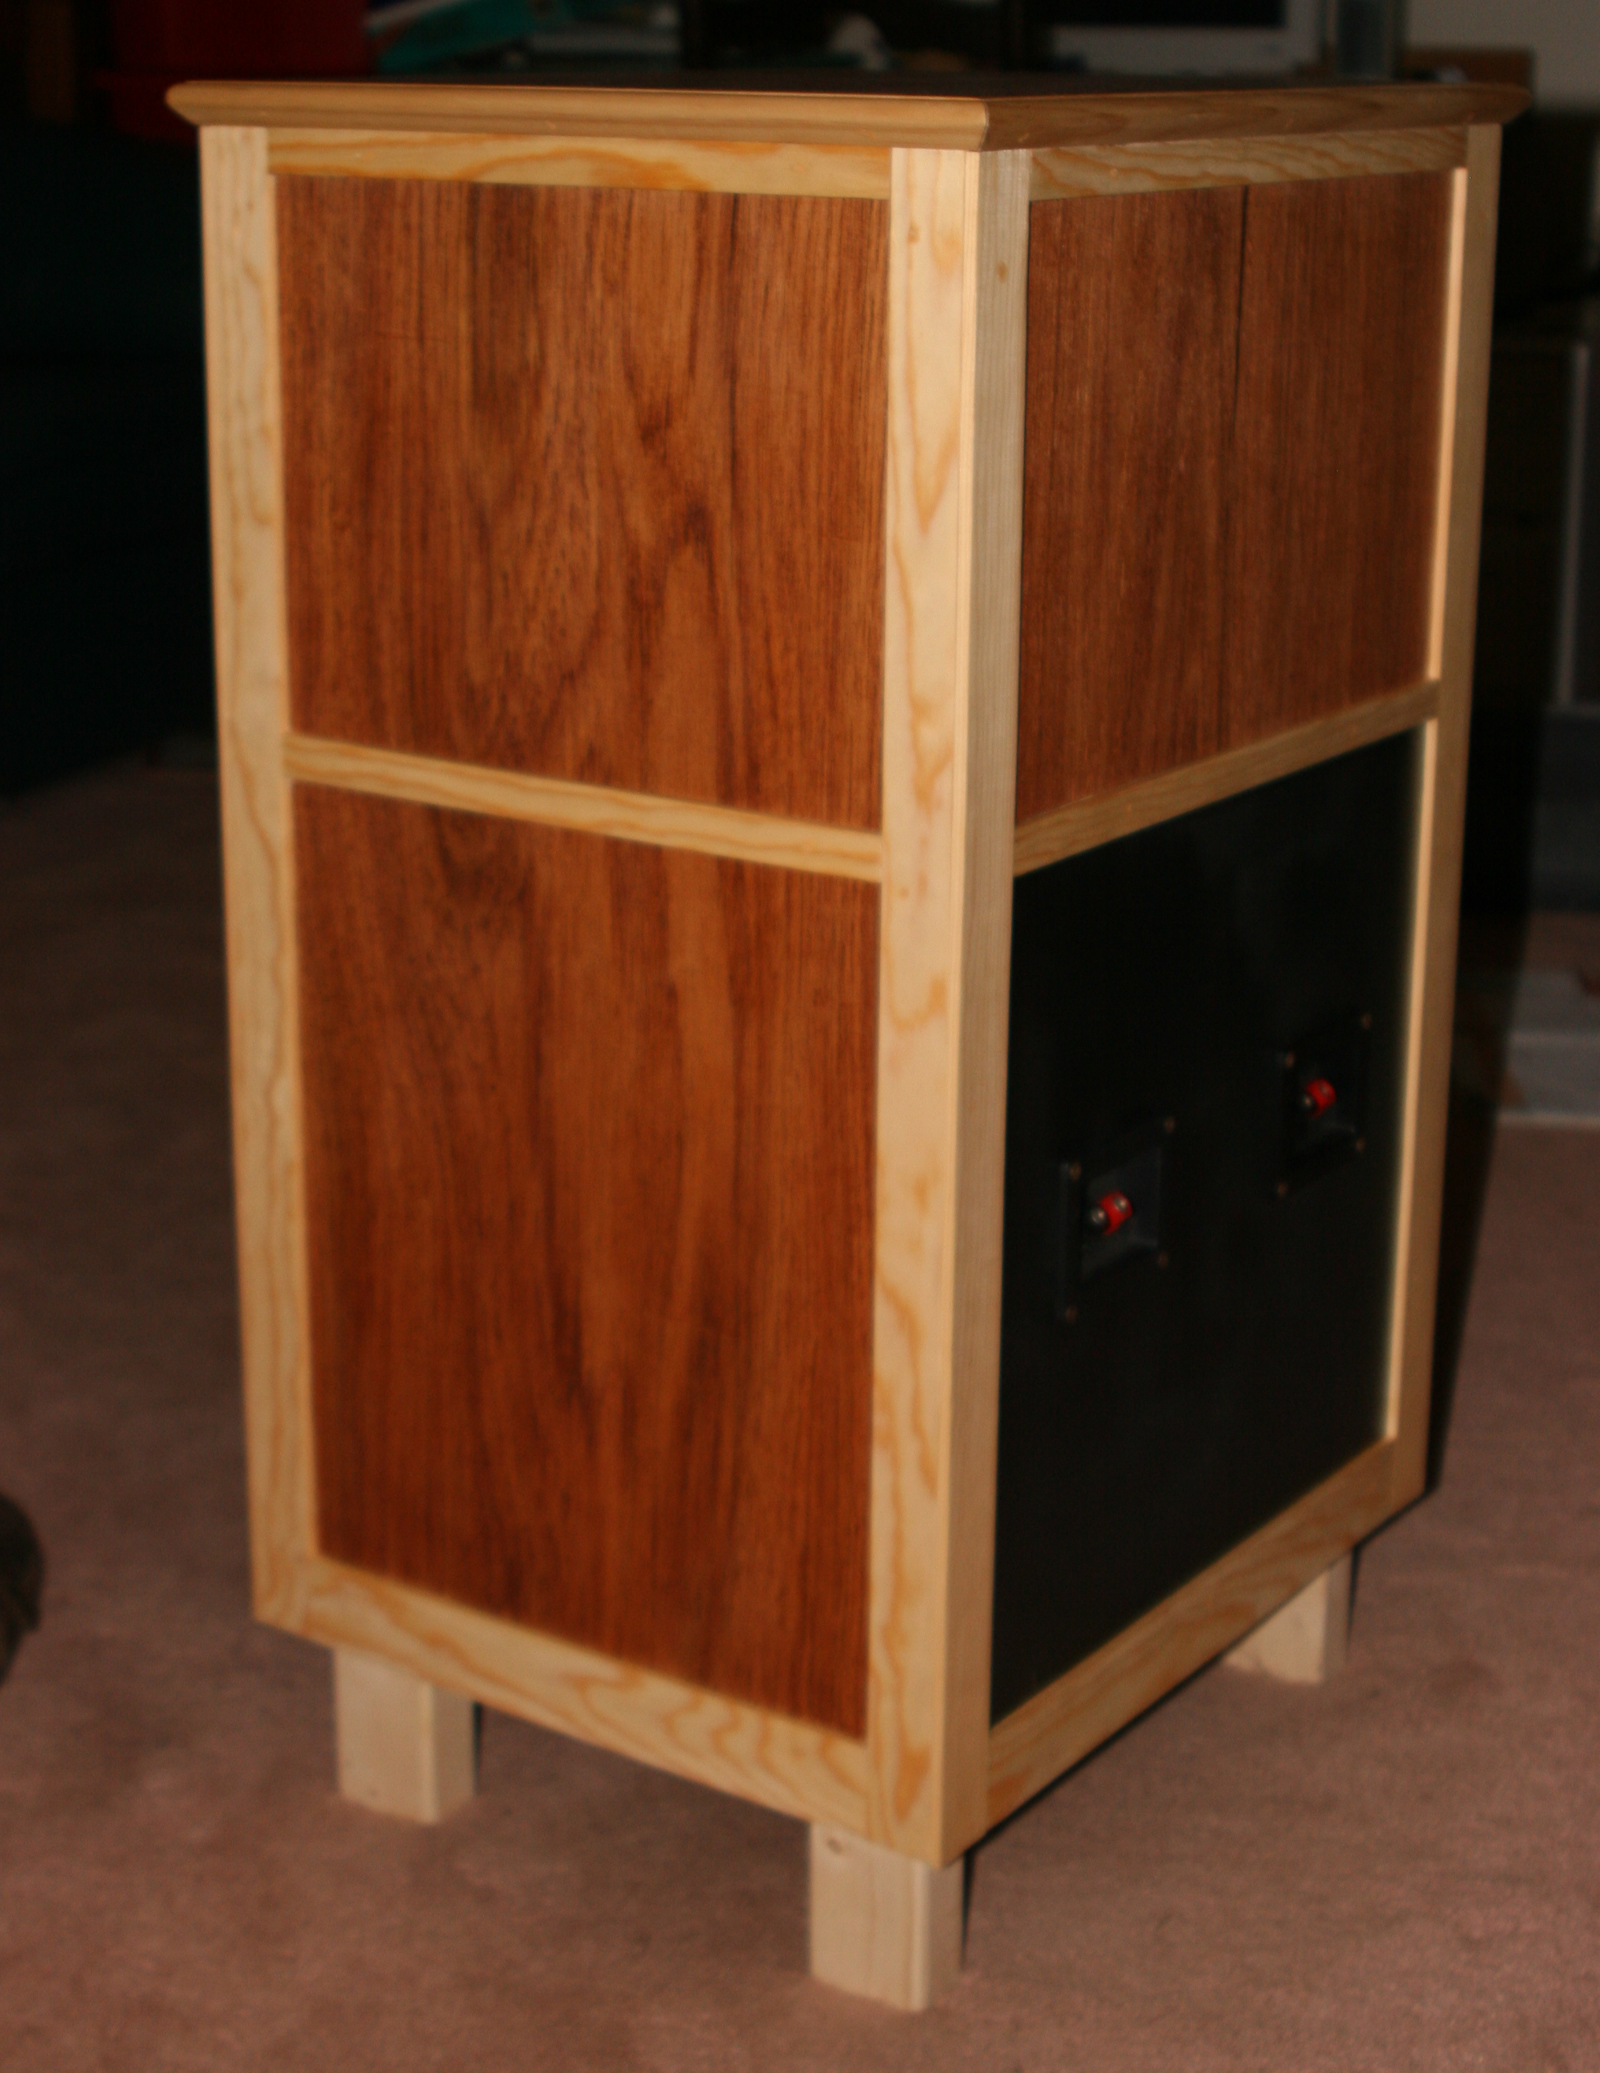
This box was built using parts from the previous prototype. The new box is bigger so I kept the cutouts for the driver and PR and used that as the basis for sizing the box. Ultimately, the box topped out at roughly 18 x 28 x 15 inches before adding the final trim.
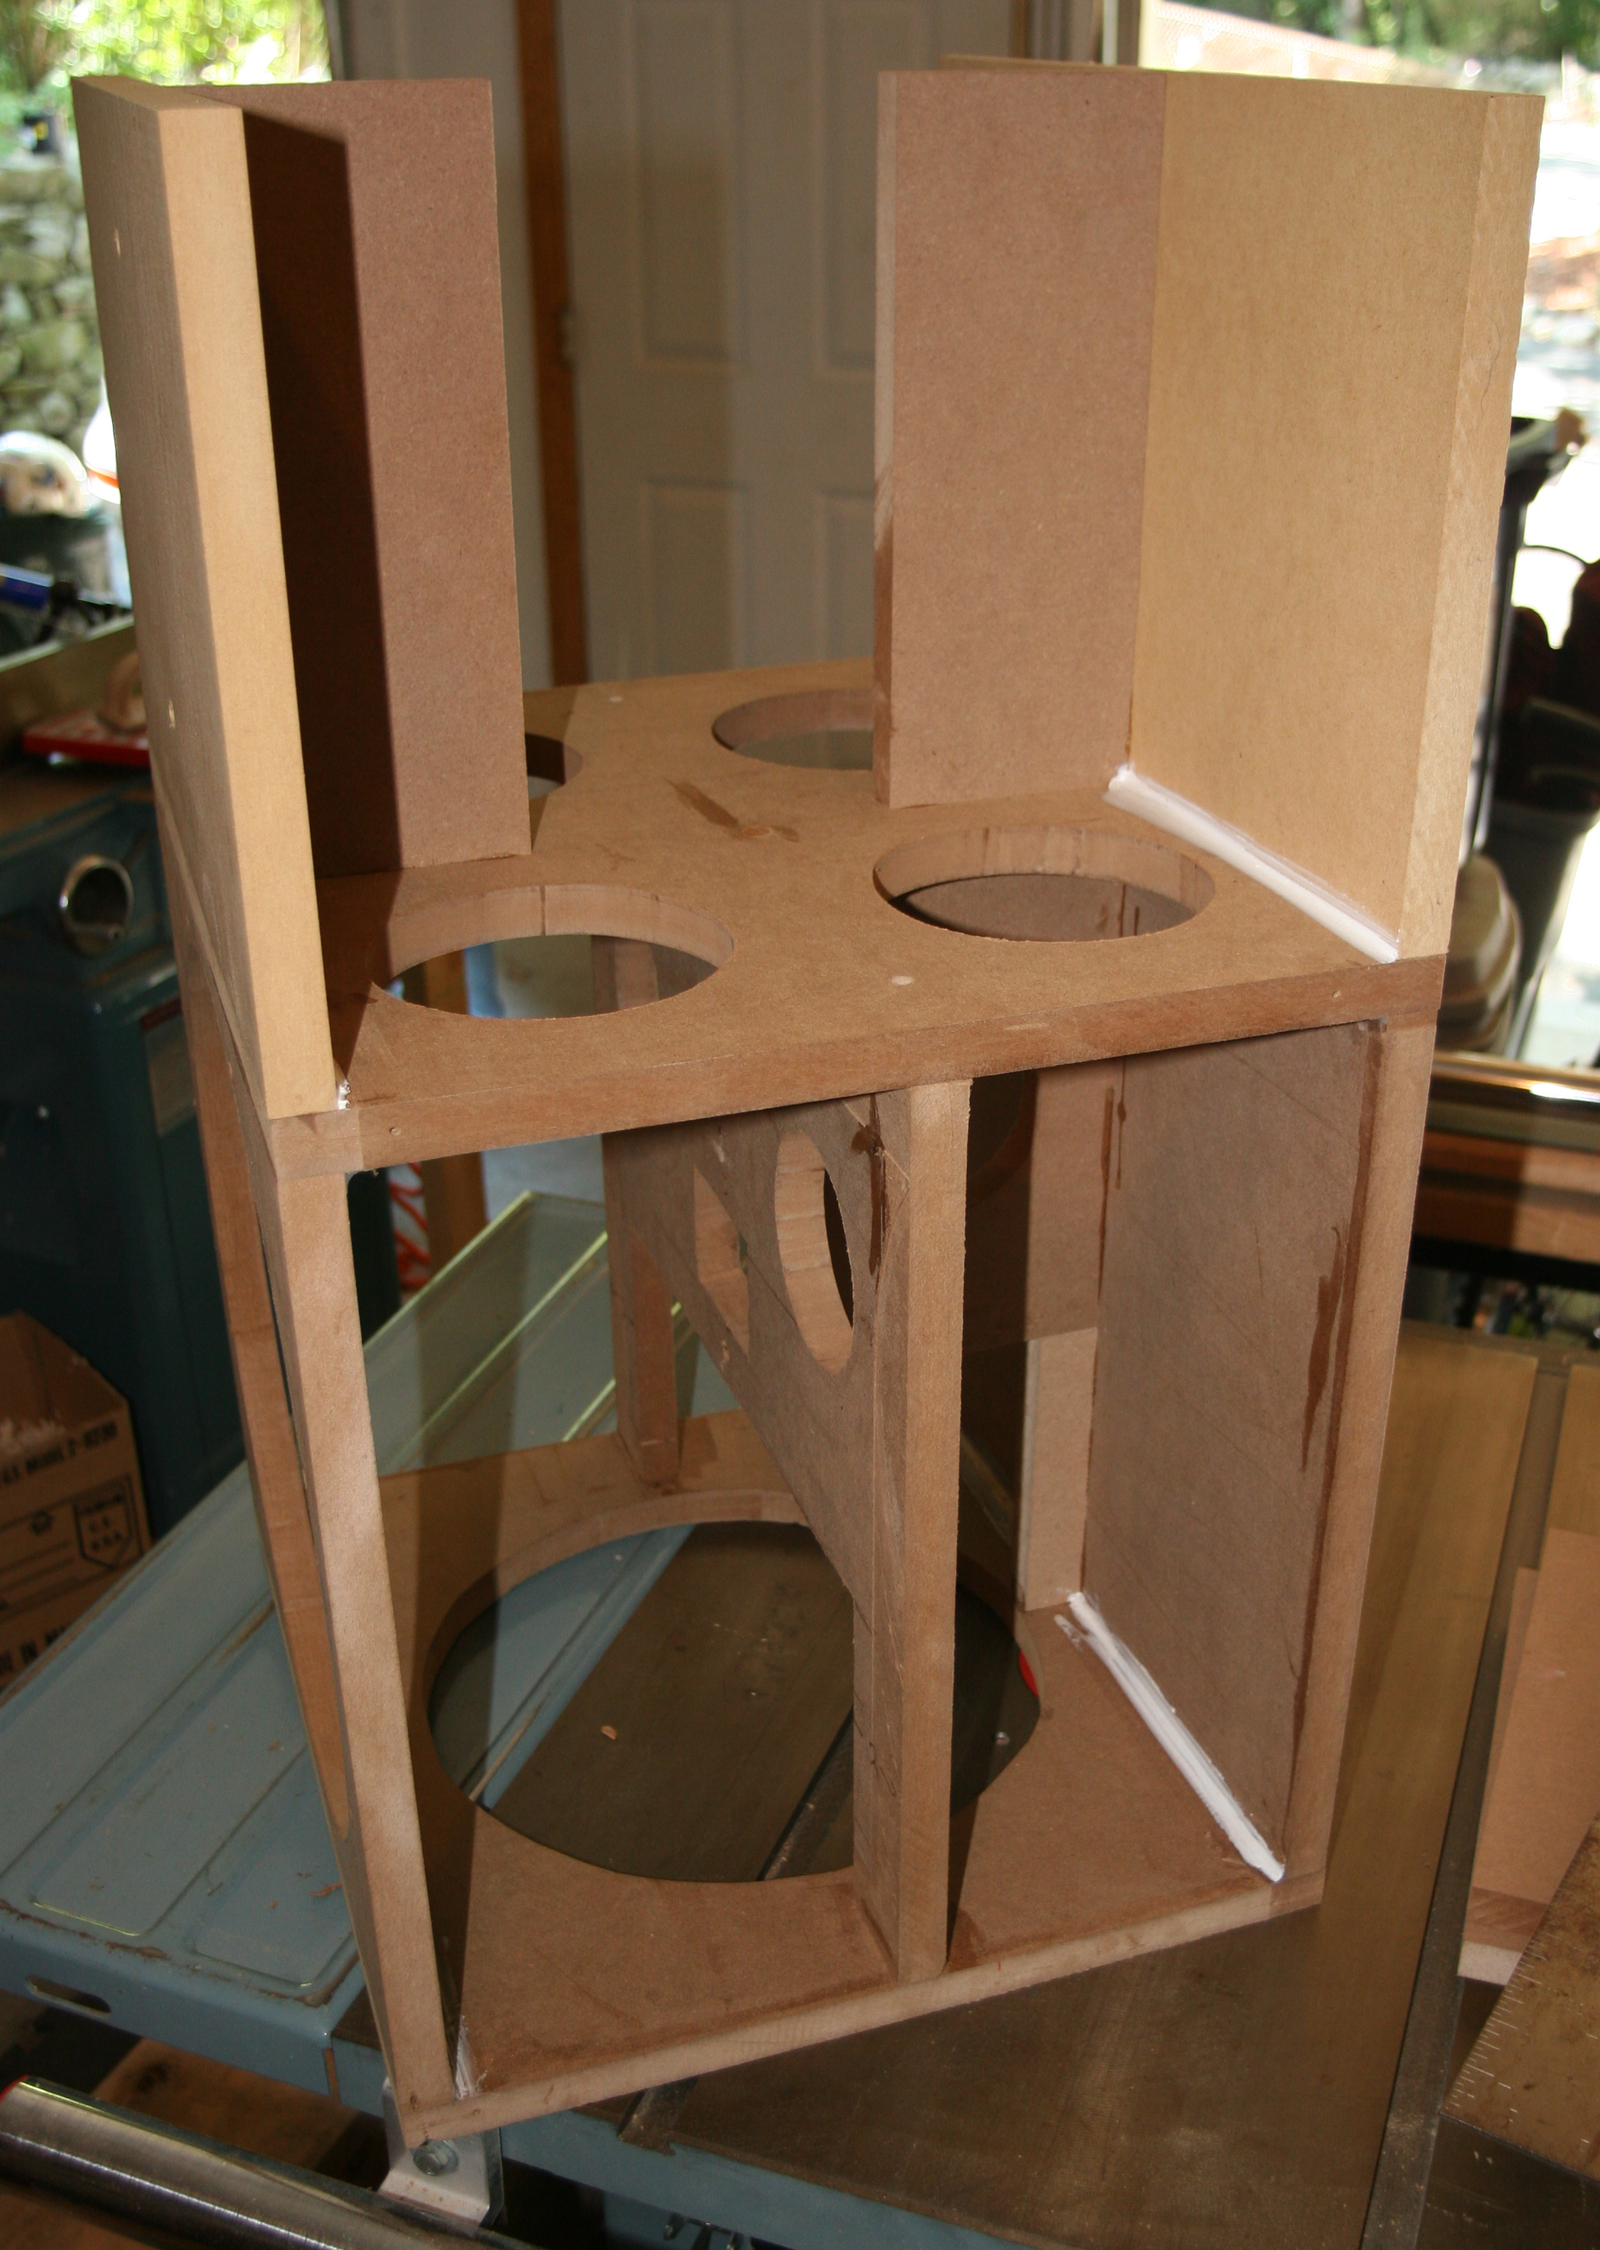
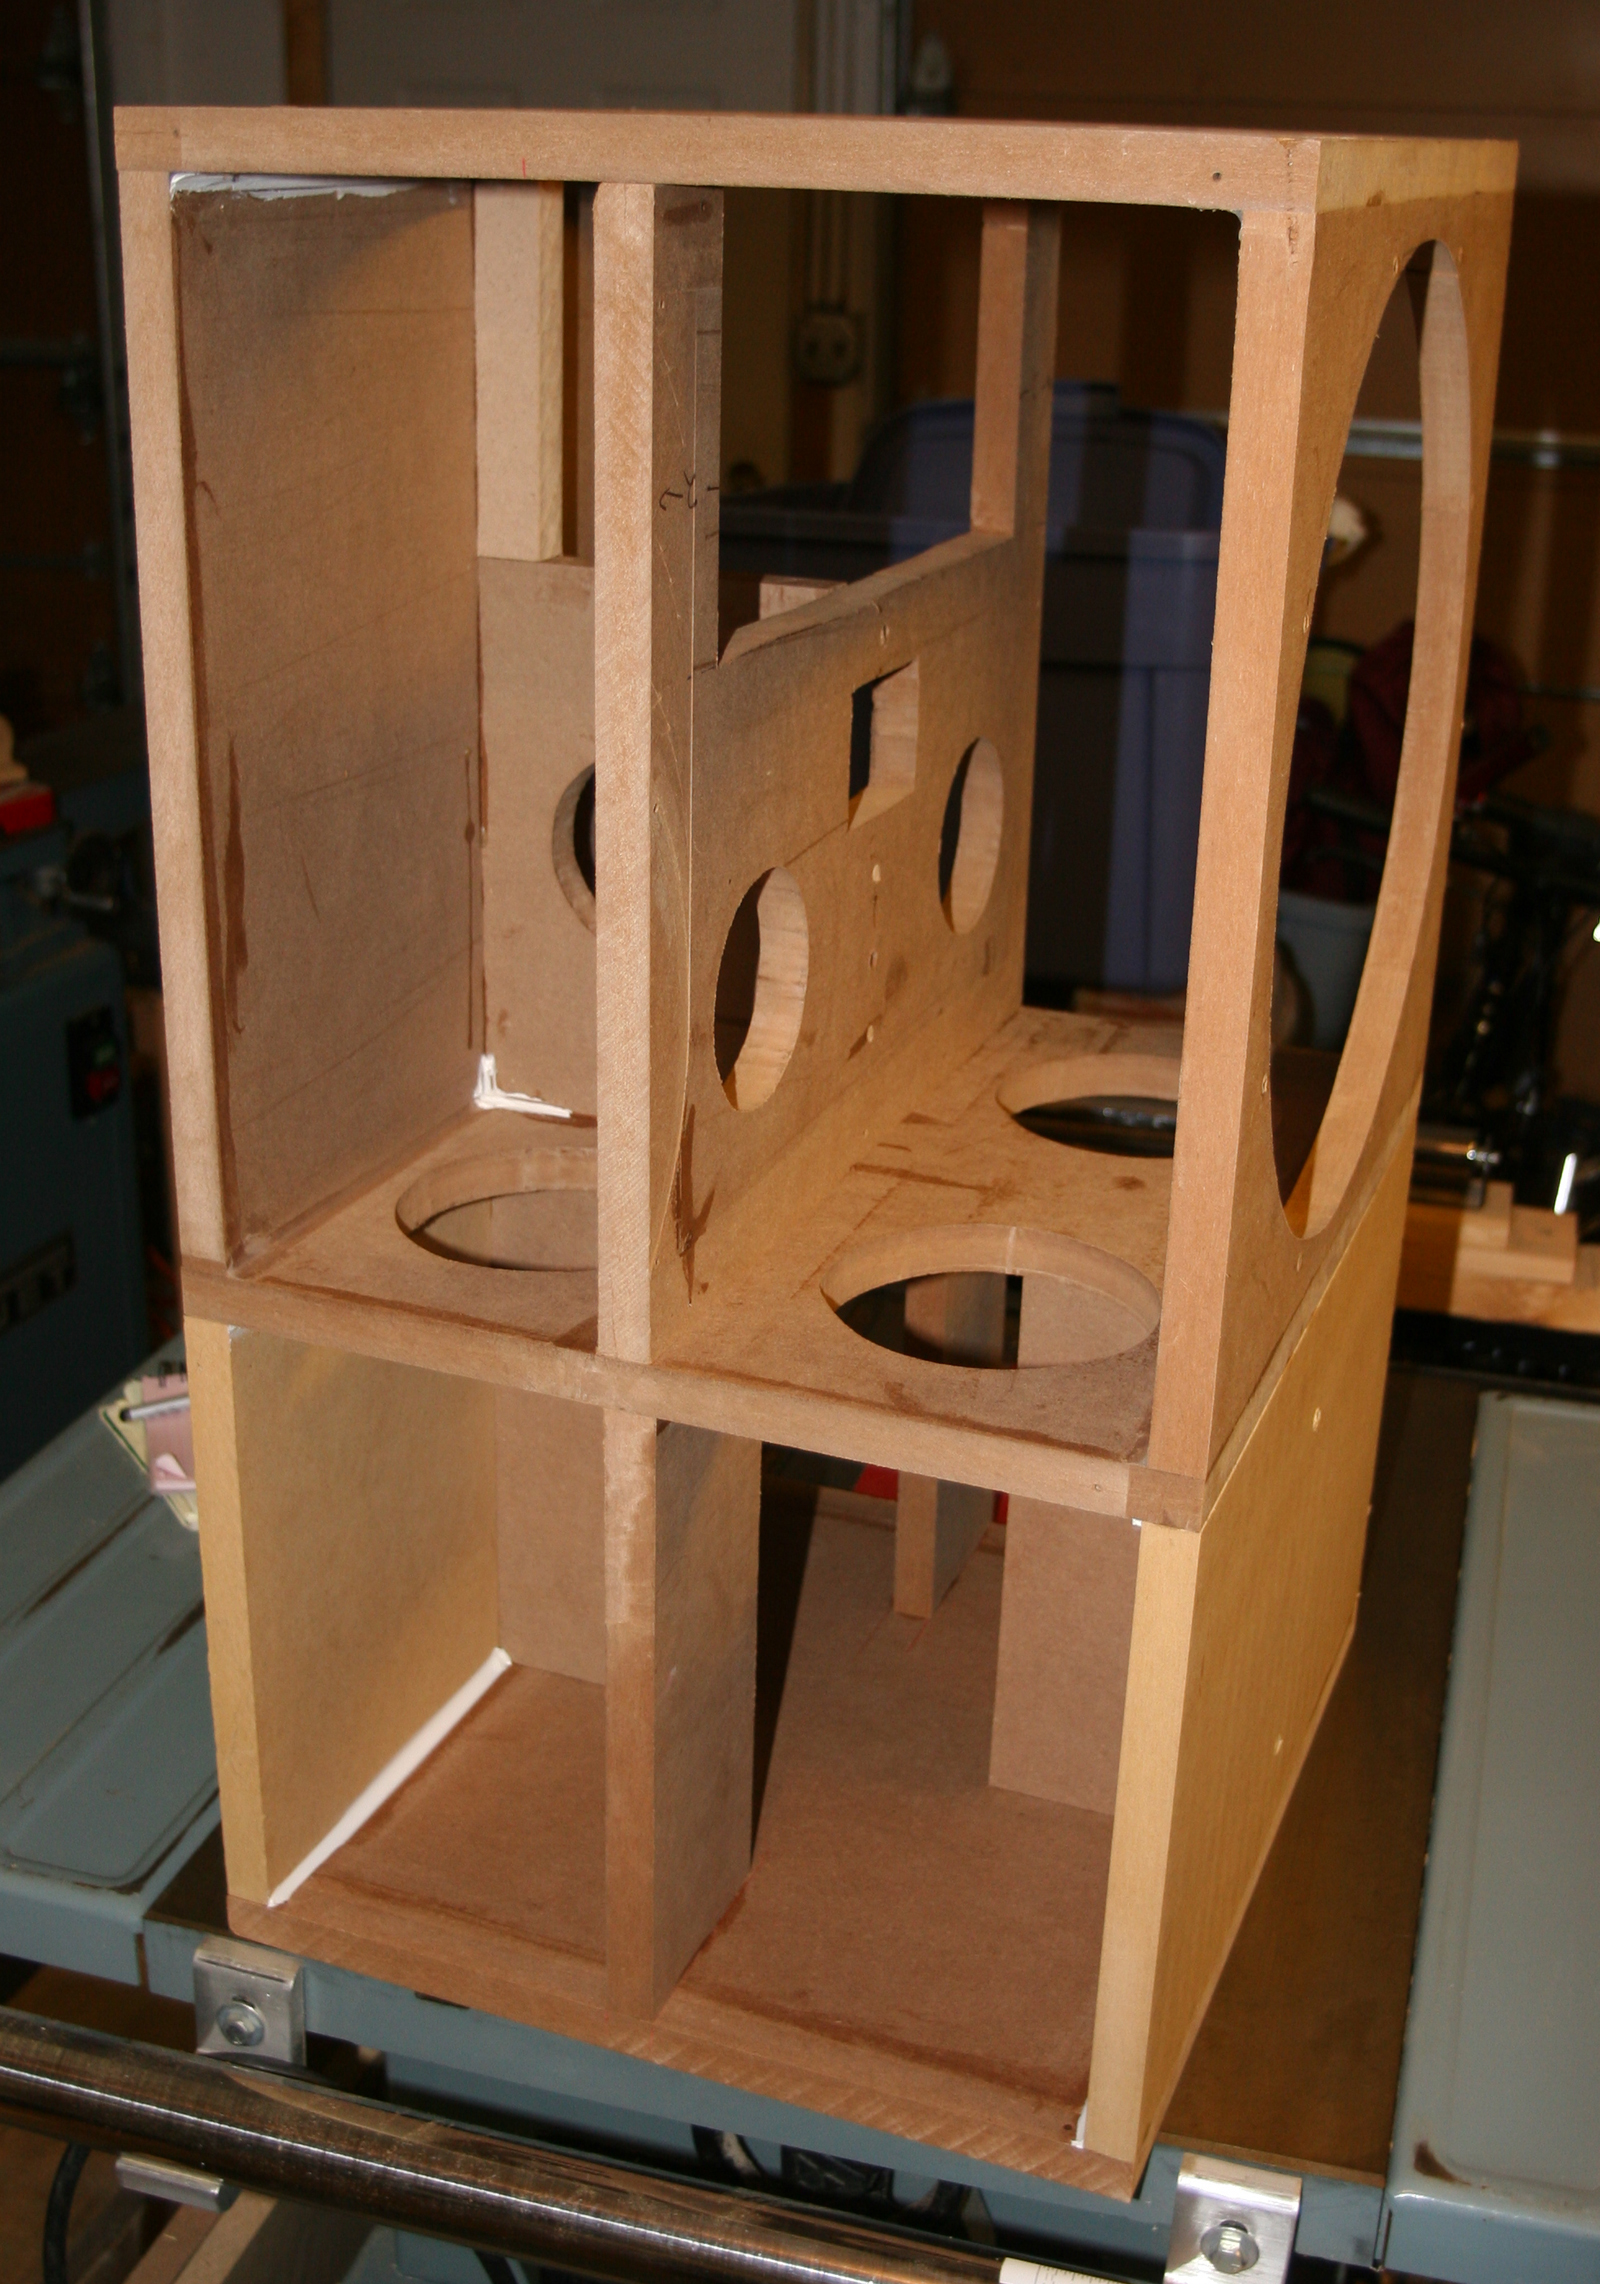
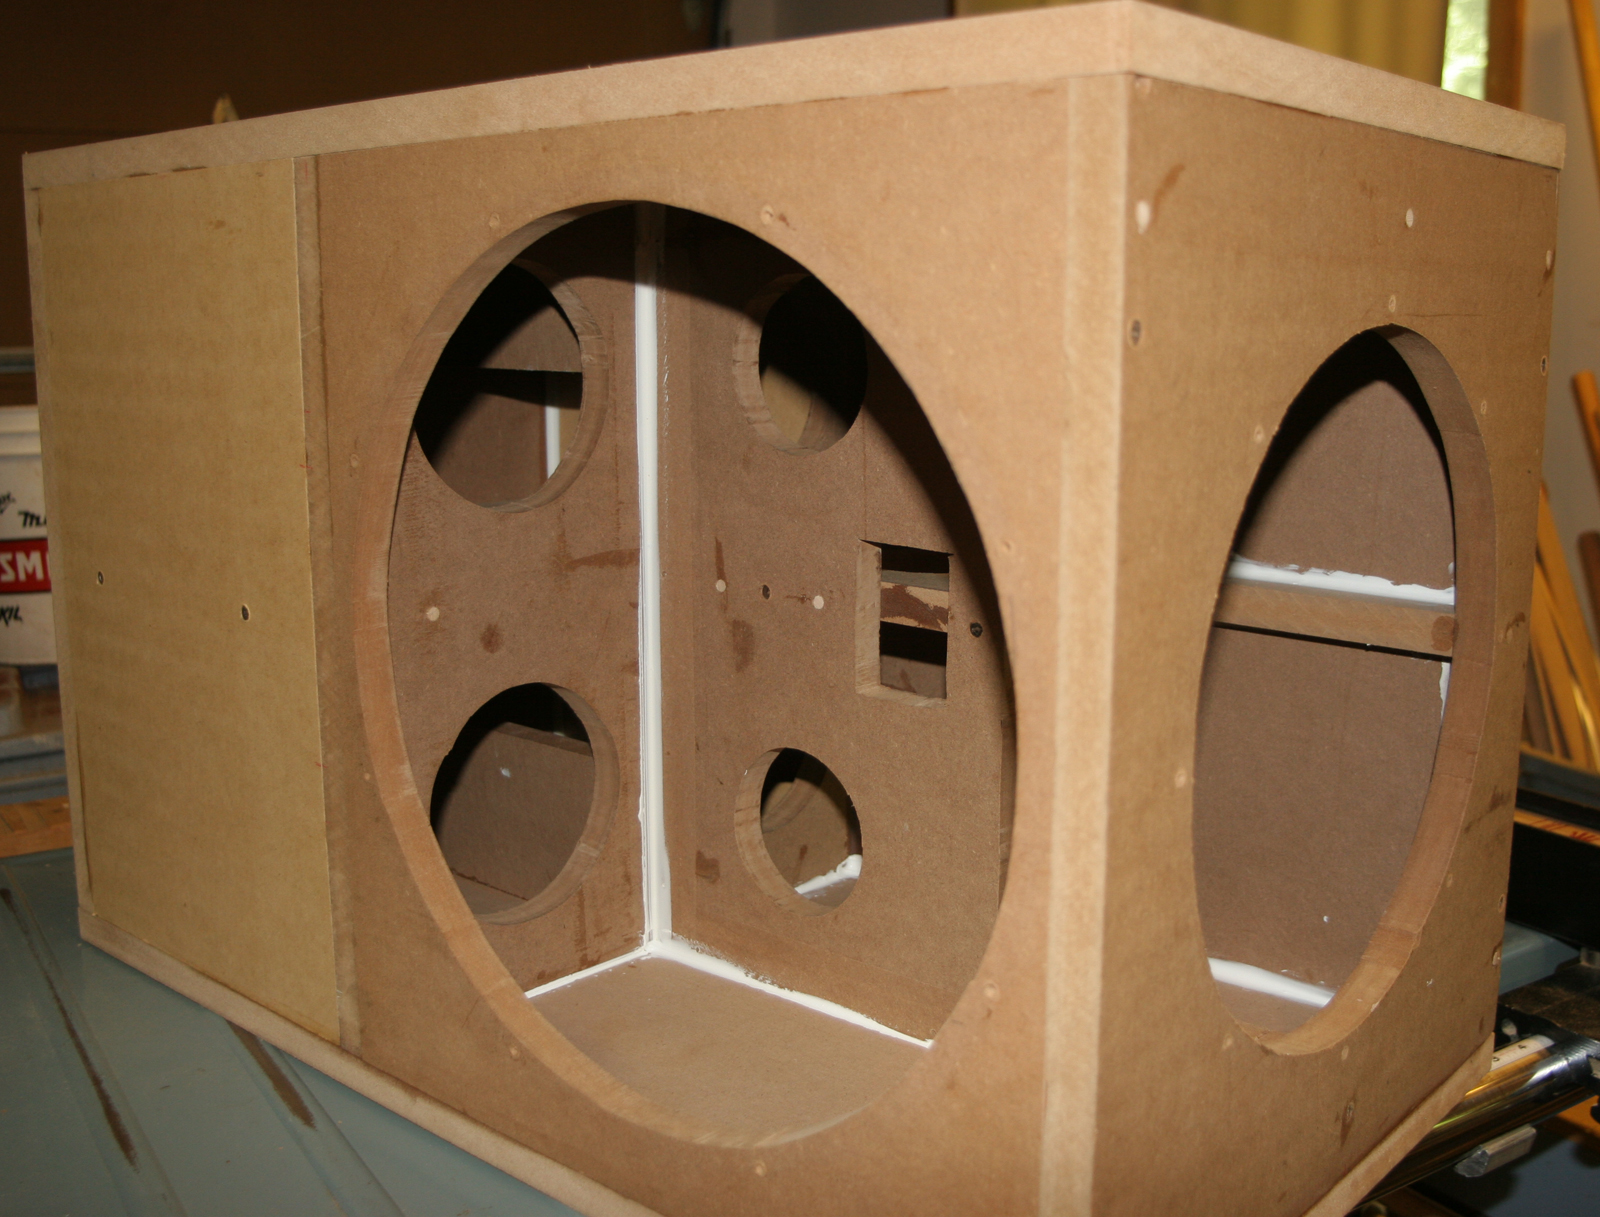
Internally, the box is heavily braced with shelves. The woofer is downward firing and takes up pretty much all of the room on the bottom. This meant the cabling terminals would have to go onto a side panel. The PR is left exposed on one side without any grill. The exterior is either painted black or veneered with Pau Ferro - a beautiful dark red wood. I've had this veneer for many years and this is the first time I've used it. A few month after I built the sub, I noticed that much of the veneer was cracking and peeling off the MDF substrate. The original veneer was very warped and required a lot of treatment to flatten it. Apparently, it didn't work. I have to go back and correct the finish.
Active Crossover
The subwoofer found a
home in my living room behind the armoire that houses the TV. The big
problem is that I don't own a "home theater" receiver through
which the AV signals go through. All audio is fed to a 30 year old
Technics SA-200 2-channel AM-FM receiver. Antiquated, yes; but I love
the old gear with the analog tuning flywheel dial. And it's built like
a tank and will likely outlast any other component I have. So I needed a crossover.
The Shiva driver is a
dual-voice coil design and both coils are exposed for hook-up. I decided
to only use one voice coil (for now). Power for the subwoofer comes from
an Adcom GFA-545 II amplifier. I found this beauty at a garage sale for
$10. It had a blown fuse in one channel that was fixed with a trip to
Radio Shack. It's rated at 100 watts per channel into 8 ohms, 150 watts
into 4 ohms.
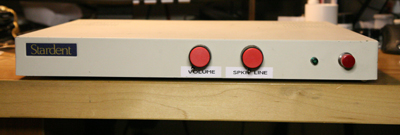
The active crossover
is housed in the same Stardent box that I used for
my Zen preamp.
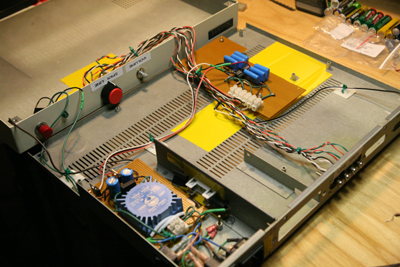
Internally,
the active crossover is very simple. There are two parts to the
unit - a power supply and the crossover circuitry. There are 2 sets of
inputs in the rear - Left/Right line level and Left/Right speaker level.
I used RCA jacks for both tpes of inputs (probably not a good idea but
the connectors were readily available from Radio Shack and easy to retrofit
into this case). There is a single RCA jack for the output (at the far
right of the above picture, just off the picture).
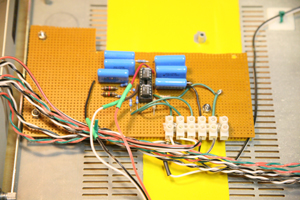
The
power supply is pretty standard - 7812/7912 pair to deliver +/- 12V
from a small toroidal transformer. It is fused and wired to the
existing power cord receptacle in the box. There are two power
switches - one is on the side (at the lower right of the left
picture) which was original to the case, and the other is a front
panel push-button switch I added for ease of use. Both must be on
for use. The yellow patches in the right picture is self-adhesive
paper I added to act as an insulator - just in case something shorts
out with the case!
The
active circuitry is likewise pretty straight forward. A front panel
four pole, double throw (4PDT) switch selects the input source.
Speaker level inputs go through a voltage divider network. The
selected input is summed by an op-amp then fed to two 2nd order
Salen Key unity gain low-pass stages with a corner frequency set
to 75Hz. The output is fed to a variable gain buffer controlled
from a front panel gain/volume control pot.
The
front panel has the power switch, power LED, gain, and input selector.
Results
It's great! We don't use it often; usually just for watching movies. But when it's on, you know it. The current speakers are my 2-way surrounds which were put into service for space reasons. They don't go that low so there's a dip in the response between the sub (75Hz) and the speakers (100Hz). I'll fix that when I have the time. For now, action movie just rock the house!
3-August-2003
It's been
over 2 years since I made the first test box. I wasn't too
thrill with its un-equalized response and the size of the
box made it rather unappealing. The next step was therefore
to shrink the box to about half the original size. Using the
original box, I made a new one measuring 16-5/8 x 15-1/8 x
18-7/8 inches on the outside for an internal volume of just
over 2 cubic feet (not accounting for the driver's and passive
radiator's rear volumes). But that still wasn't quite right.
 Here is the new
smaller prototype box.
Here is the new
smaller prototype box.
The real
problem is that I don't really have a use for this sub yet.
The original use for this sub fell through and so this project
has had no calling. And so the new smaller box is partly to
allow the drivers to be stored on a baffles while I decide
what to do with it ! I placed the drivers in adjacent faces
of the box mainly to allow me to place the unit in a particular
place in my house for "temporary storage". The box
is still nothing more than 3/4 inch MDF with absolutely no
bracing of any sort. No attempt was made to "do the job
right" since the probability is high that a new box will
be built once a final plan is made. This box does however
provide a reasonaly test platform for designing the EQ and
crossover circuitry that will eventually be needed.
|
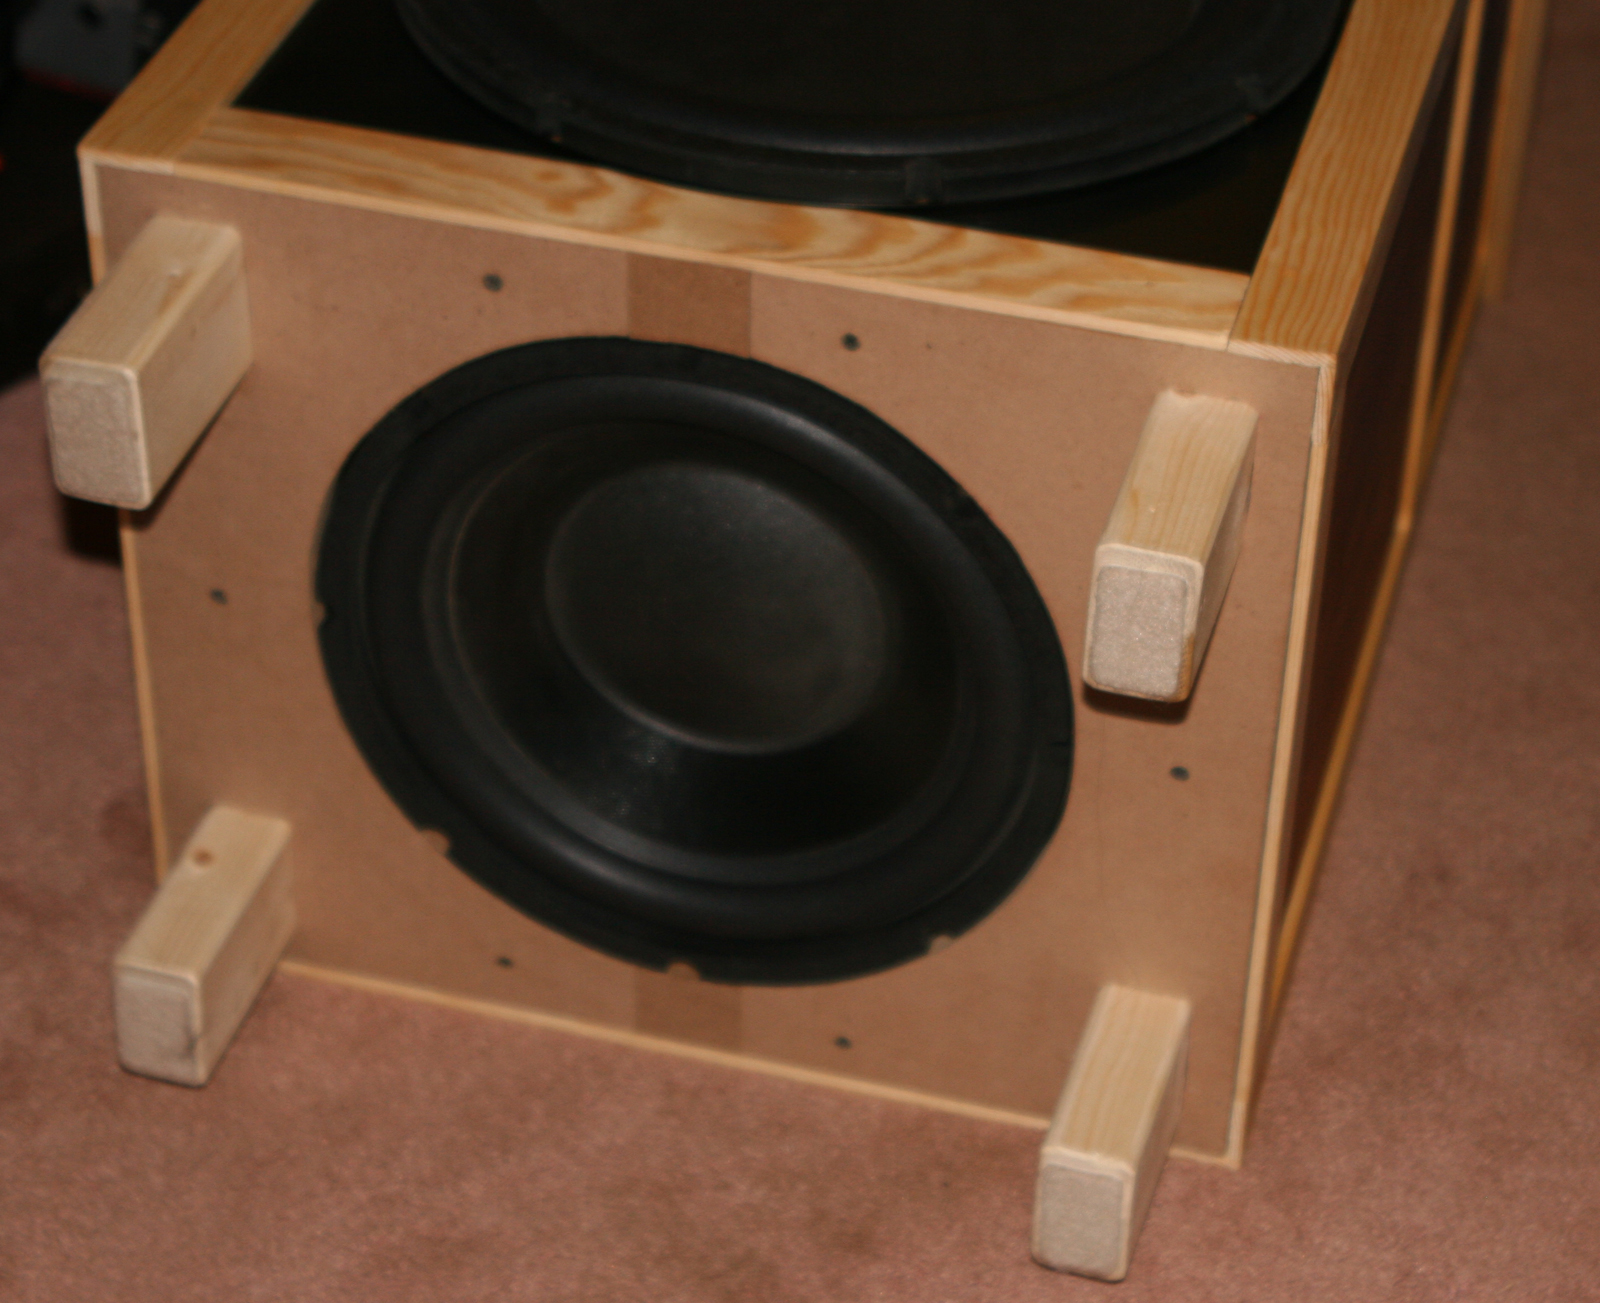
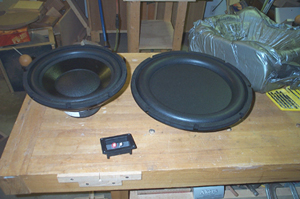 Here is the Shiva 12 inch
woofer (left) and PR15 passive radiator (right)
Here is the Shiva 12 inch
woofer (left) and PR15 passive radiator (right) 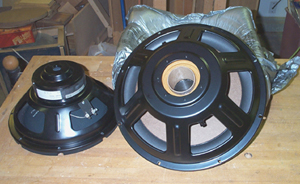 Here is the bottom of
the 2 drivers. Note the space in the cardboard tube at the
center of the PR15.
Here is the bottom of
the 2 drivers. Note the space in the cardboard tube at the
center of the PR15.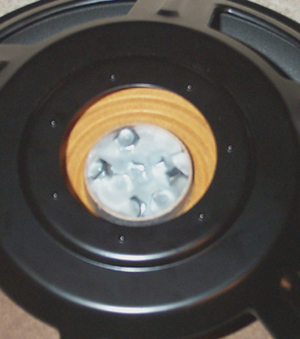 I added 726
grams of mass to the passive radiator by adding ninety (90)
3/8 inch zinc hex nuts with 4 ounces of wax. This is pretty
easy to do. I melted two 4 oz of wax into a clean tin can
by heating the can it in hot water. Layers of nuts were then
added to the space in the center of the passive radiator and
held in place with melted wax. Each layer was allowed to cool
and solidify for a few minutes. Both the nuts and wax container
were carefully weighed before use. When done, the wax container
was weighed again to determine how much wax was actually used.
Added to the original mass of 285 grams, the new PR has a
moving mass of 1011 grams which is the upper bound of what
I expect to have. The final mass will be determine through
further tuning.
I added 726
grams of mass to the passive radiator by adding ninety (90)
3/8 inch zinc hex nuts with 4 ounces of wax. This is pretty
easy to do. I melted two 4 oz of wax into a clean tin can
by heating the can it in hot water. Layers of nuts were then
added to the space in the center of the passive radiator and
held in place with melted wax. Each layer was allowed to cool
and solidify for a few minutes. Both the nuts and wax container
were carefully weighed before use. When done, the wax container
was weighed again to determine how much wax was actually used.
Added to the original mass of 285 grams, the new PR has a
moving mass of 1011 grams which is the upper bound of what
I expect to have. The final mass will be determine through
further tuning.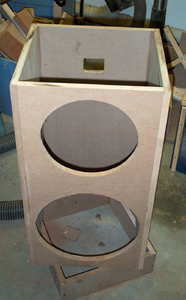 Here's what the prototype
box looks like. It is made from 3/4 inch MDF and has internal
dimensions of 30 inches (height) by 15 inches (width) by 13.5
inches (depth). This creates a volume of 3.5 cubic feet or
99 liters (not counting anything else that takes up space
in the cavity). The small rectangular hole in the rear of
the box is for the terminal cup. Another identical (unseen)
hole is located just beneath it for a second cup (one per
voice coil).
Here's what the prototype
box looks like. It is made from 3/4 inch MDF and has internal
dimensions of 30 inches (height) by 15 inches (width) by 13.5
inches (depth). This creates a volume of 3.5 cubic feet or
99 liters (not counting anything else that takes up space
in the cavity). The small rectangular hole in the rear of
the box is for the terminal cup. Another identical (unseen)
hole is located just beneath it for a second cup (one per
voice coil).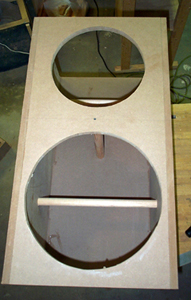 For this box,
bracing consists of just 3 dowels that tie opposite side panels
together. Screws from the outside hold things in place.
For this box,
bracing consists of just 3 dowels that tie opposite side panels
together. Screws from the outside hold things in place. 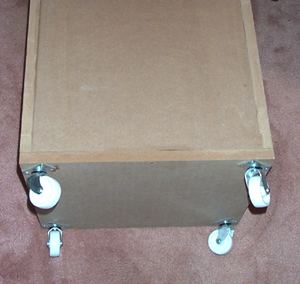 These four casters
are supposed to make the unit easier to move. The sad truth
is that they are cheap wheels and don't turn well. If they
continue to bother me, I'll replace them with better ones.
These four casters
are supposed to make the unit easier to move. The sad truth
is that they are cheap wheels and don't turn well. If they
continue to bother me, I'll replace them with better ones.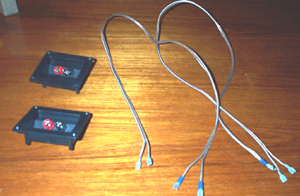 Here
are the other parts that make up the prototype. Once installed,
the wires were taped to the bracing dowel to keep them from
rattling :)
Here
are the other parts that make up the prototype. Once installed,
the wires were taped to the bracing dowel to keep them from
rattling :) 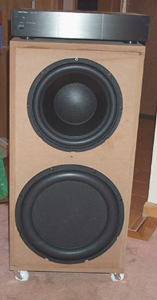 The completed
prototype with a test amp sitting on top.
The completed
prototype with a test amp sitting on top.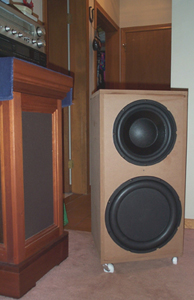 Here it
sits next to my
Here it
sits next to my